 |
 |
 |
 |
 |
 |
 |
 |
 |
 |
 |
 |
 |
 |
 |
 |
 |
 |
 |
 |
 |
 |
 |
 |
 |
 |
|
|
|
|
|
|
|
|
|
|
|
|
|
|
|
|
|
|
|
|
|
|
|
|
|
|
|
|
|
|
|
|
|
|
|
|
|
 |
|
|
|
|
|
|
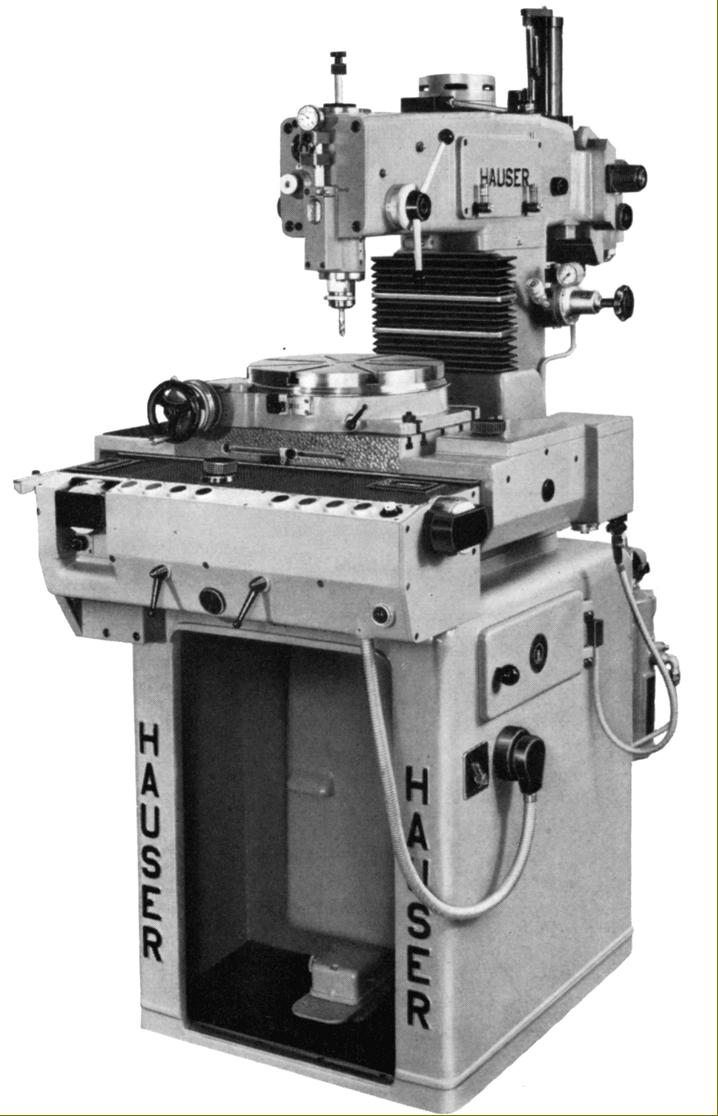
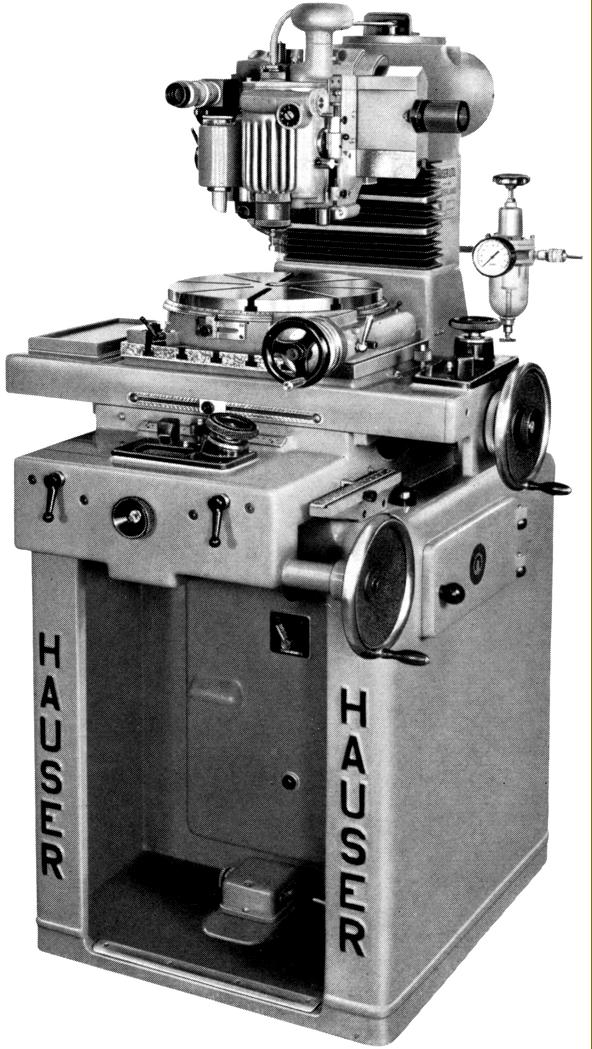
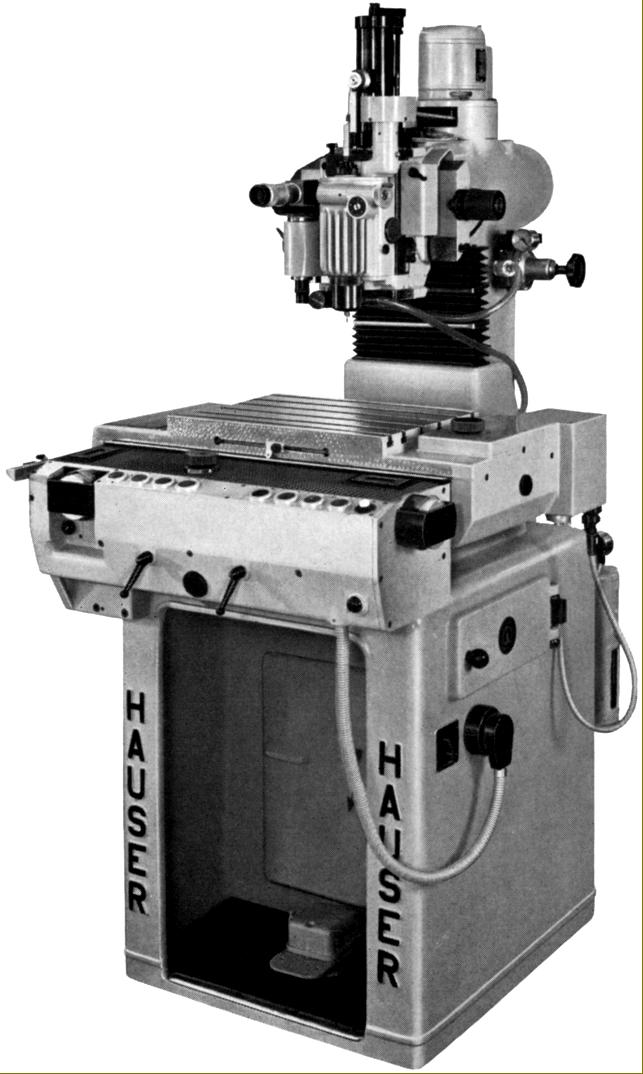
Hauser 2SBO optical-reading combined jig borer and jig grinder
Although fitted with exactly the same head assembly as the non-optical Type 2SB (and with the same 250 mm (9.75" lift to the column) the 2-SMO had a substantially different table assembly. Although larger than that fitted to the 2SB - at 400 x 300 mm (15.75" x 12") - the table had exactly the same travel - both longitudinal and traverse movements being 200 mm (8"). However, the thickness of the table and its power-only drive mechanism, reduced the maximum clearance between the table's top surface and the boring and grinding spindle noses to give clearances of 320 mm (12.5") and 270 mm (10.5") respectively.
Table position was achieved by reference to a combination of externally mounted rulers, micrometer drums and illuminated projection screens that showed an enlarged image of the graduations on a sealed standard scale of ultimate accuracy.
Even through the same range of accessories was available for both the screw-feed-reading and optical models, the latter lacked, as part of its standard equipment, the optical copying attachment ordinarily fitted to the former. It could however be built into a new machine at the factory, if required at extra cost.
|
|
|
|
|
|
|
|
|
|
|
|
|
|
 |
|
|
|
|
|
Hauser 5SM Jig Grinder
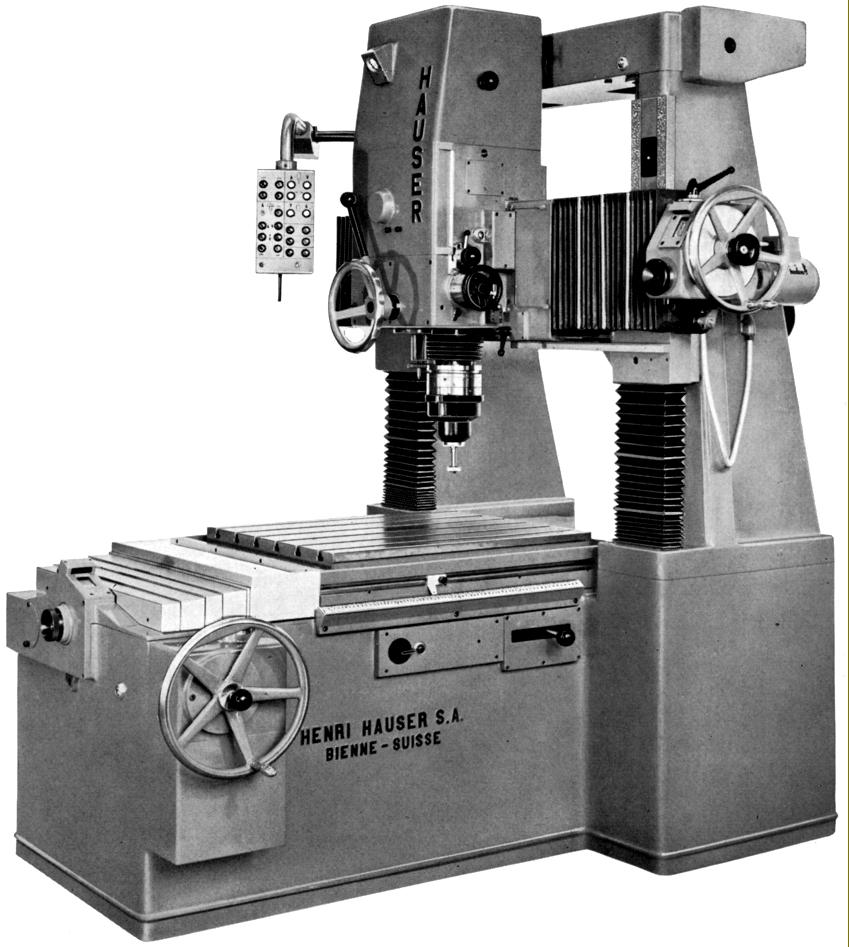
Built from the 1950s into the 1960s, the Hauser Type 5SM jig grinder was then the largest in the Company's range. Based very closely on the Type 5 jig borer, the 5SM had the same 750 mm x 620 mm (29.5" x 24.5") table with 700 mm (27.5") of travel able to take workpieces of up to 600 kg (1300 lbs) - though with a reduced clearance of 500 mm (20") between table and spindle nose.
Table and head positions were measured by hardened, ground and stress-relieved precision leadscrews fitted with massive (and illuminated) micrometer drums and vernier scales. In addition, an automatic vernier scale automatic compensation device was fitted, the operation of which is described in the opening to the Hauser section (above). The micrometer dial read to 0.01 mm (0.001") and the vernier to 0.001 mm (0.0001") with the makers guaranteeing an accuracy of setting to within 0.005 mm (0.0002").
Able to be elevated under power through 500 mm (12") of travel the cross beam carried an oil-mist lubricated grinding head that could have the following elements infinitely varied: rotational speed from 4500 to 80,000 r.p.m.; axial stroke up to 145 mm (5.75"); a reciprocating motion to 2.8 m/min (9-ft/min) and a planetary action between 10 and 280 r.p.m. - the last two being driven hydraulically. In addition, the head could be set to automatically disengage the in-feed at a pre-set diameter.
Electrical controls were mounted on a swinging pendant - handy for occasions where work was concentrated on one side or face of a job - and an electrical "quick stop" was also include as an extra safety measure.
Lubrication was taken care of automatically, a centralised system pumping oil to the table and cross head slideways (both were fully protected and covered) and the feed screws.
|
|
|
|
|
|
|
|
|
|
|
|
|
|
 |
|
|
|
|
|
|
Hauser 3SM Jig Grinder (non-optical)
A distinctive, stand-alone model not based on any of the Company's jig borers, the Type 3SM jig grinder had a 550 x 320 mm (21.5" x 12.5") table with a longitudinal travel of 400 mm (16") and a transverse of 250 mm (10"). The vertical slide could be elevated through a distance of 400 mm (16") to give a maximum clearance between spindle nose and table of 470 mm "18.5"). Table positions were measured by hardened, ground and stress-relieved precision leadscrews fitted with massive (and illuminated) micrometer drums and vernier scales. In addition, an automatic vernier scale automatic compensation device was fitted, the operation of which is described in the opening to the Hauser section (above). The micrometer dials read to 0.01 mm (0.001") and the verniers to 0.001 mm (0.0001") with the makers guaranteeing an accuracy of setting to within 0.003 mm (0.00015").
Able to grind bores up to approximately 190 mm (7.5") and driven directly by a top-mounted electric motor, the oil-mist lubricated grinding head could have the following movements infinitely varied: rotational speed from 16,000 to 80,000 r.p.m.; axial stroke between 5 and 90 mm (3/16" and 3.5"); a reciprocating motion of up to 1.8 m/min (6-ft/min) and a planetary action that could be set between 10 and 300 r.p.m. - the last two being driven hydraulically. In addition, the head could be set to automatically disengage the in-feed at a pre-set diameter..
|
|
|
|
|
|
|
|
 |
|
|
|
|
|
|
Hauser 3-SMO Optical Jig Grinding Machine
Apart from a larger table - 595 mm x 320 mm (23.5" x 12.5') that had the same travel as the non-optical version and the inclusion of directly-read high-precision standard scales - the Type 3-SMO was identical to the ordinary Type 3-SM. Microscope observation of the ruler scales allowed an increase in reading accuracy from 0.0001" on the verniers to better than 0.00005" (though the maker's technical documentation on this point was not as clear as it should have been). An accuracy of settings to within 0.002 mm (0.001") was guaranteed.
|
|
|
|
|
|
|
|
|
|
|
|
|
|
 |
|
|
|
|
|
|
Hauser 2S Jig Grinder (non-optical)
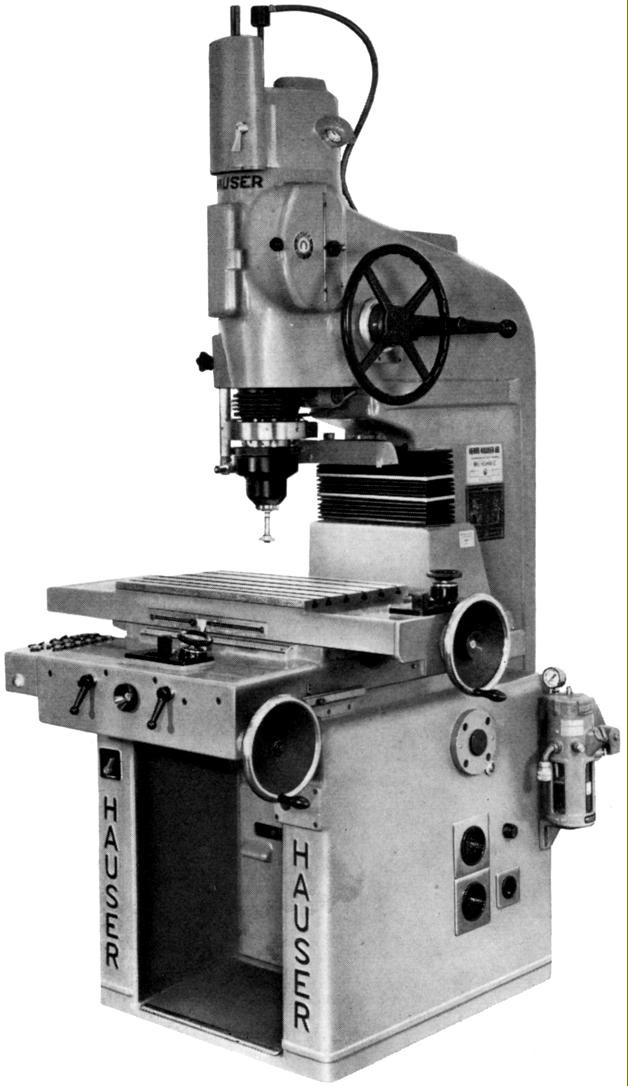
Using a base and table arrangement identical to that on the Hauser 2-A3 jig borer - a 360 mm x 240 mm (14.5" x 9.5") table with longitudinal and traverse travels identical at 200 mm (8") - the Type 2S had a head could be elevated (under power) through 250 mm (9.75") to give a maximum clearance between spindle nose and table of 350 mm (13.75").
Table positions were measured by the usual Hauser method of employing hardened, ground and stress-relieved precision leadscrews fitted with massive (and illuminated) micrometer drums and vernier scales. In addition, an automatic vernier scale automatic compensation device was fitted, the operation of which is described in the opening to the Hauser section (above). The micrometer dials read to 0.01 mm (0.001") and the vernier to 0.001 mm (0.0001") with the makers guaranteeing an accuracy of setting to within 0.002 mm (0.0001"). To assist the operator, a centring microscope was built into the head and always available for immediate use.
Running in oil-mist lubrication, the grinding head (of a design as also used on the combination Type 2-SB jig borer and jig grinder) was driven by a ½ h.p. motor that turned a built-in 30 to 45 p.s.i. air turbine to give speeds of up to 80,000 r.p.m. The same motor served to power two movements important for successful jig grinding - automatic reciprocating and vertical stroke of the spindle - the former being set in two ranges of 4 to 5 mm per second (0.16" to 0.20") and the latter adjustable between 5 and 35 mm (0.1875" to 1.4"). The maximum recommended diameter to grind as a bore was 15 mm (0.625").
|
|
|
|
|
|
|
|
 |
|
|
|
|
|
|
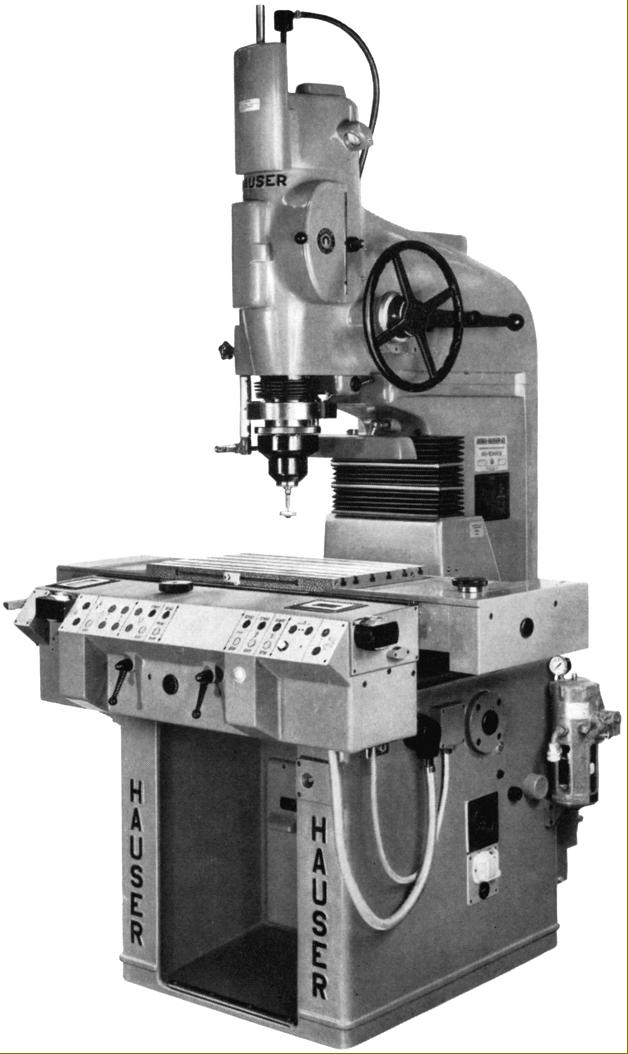
Hauser 2SO Optical Jig Grinder
Very different to the standard non-optical Type 2S, the optical 2SO was a very much better specified machine with a larger 400 x 300 mm (15.75" x 12") power-feed table (their was no manual movement available) with travels of 200 mm (8") in both directions. The grinding head also differed, being driven by the usual built-in 30 to 45 p.s.i. air turbine that gave, in this case, speeds of up to 120,000 r.p.m. The spindle motor also served to power the automatic reciprocating and vertical stroke of the spindle - the former being set in two ranges of 4 to 5 mm per second (0.16" to 0.20") and the latter adjustable between 2 and 35 mm (3/32" to 1.25").
|
|
|
|
|
|
|
|
|
|
|
|
|
|
|
|
