|
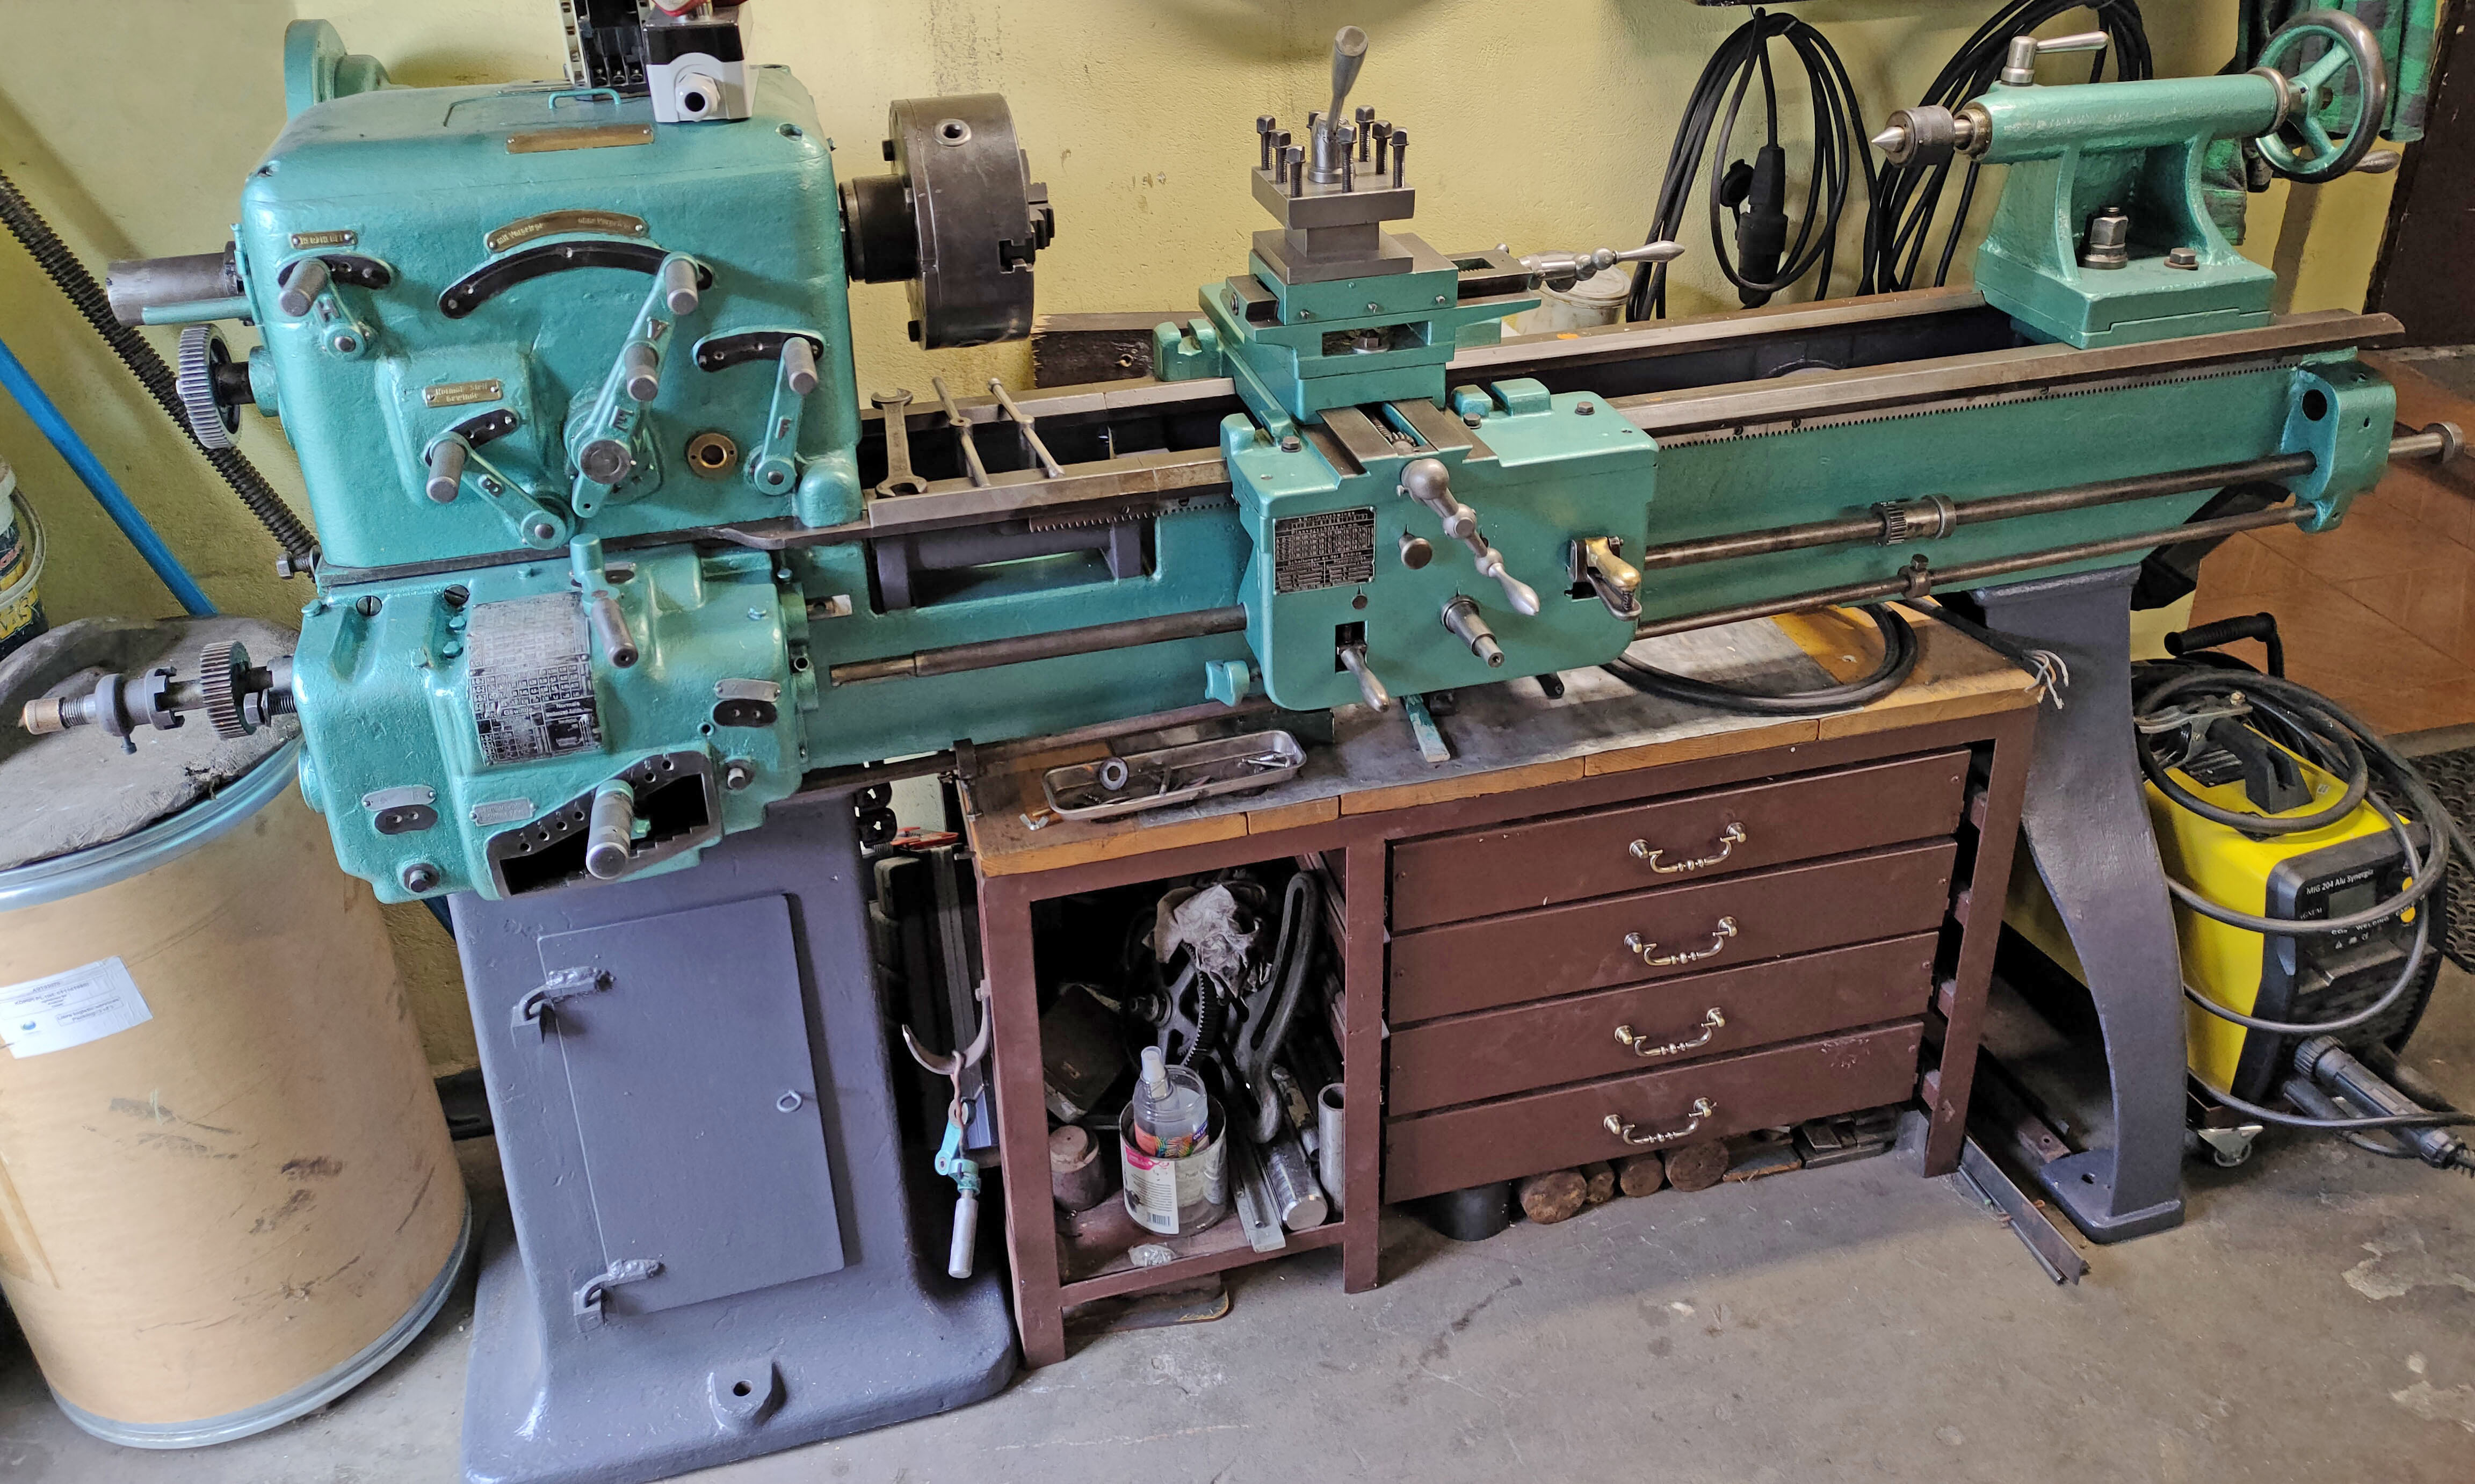
It is not often that a piece of specialist equipment escapes from a company manufacturing precision instruments (such items are often destroyed to deny competitors any advantage) but this S.A.D.A.M.E.L. "Type 4" jig borer has proved to be an exception. Manufactured by the Sadamel Company of La Chaux-de-fonds, Switzerland - a firm still in existence making automatic ticket machines and similar products - this machine is little known and infrequently encountered. Designed for use in watch factories, the example illustrated is thought to have come from the Bulova, in New York, having been imported by another now-defunct company Alina Company.
Described by its makers as a "Type 4" and intended as a "Jig Borer and Measuring Machine" its intended location was in a temperature-controlled tool room secured from those tempted to use it for other than its dedicated tasks. It was reckoned accurate enough to make use of enormous 4.3-inch diameter vernier-scale micrometer dials that allowed the 0.001-inch marks to be set approximately 0.140 inches apart - and hence the vernier scale to read off settings with an accuracy of 0.00005" (five one-hundredth thousandths of an inch). However, the present (very experienced) precision-engineer owner of the machine (illustrated on this page) believes the claimed level of accuracy may be open to question. For coarse positioning precision rulers was set into the base casting just below the table's front face and on the side of the horizontal ram. To protect the dials from damage each was encased, in a semi-circular metal housing with a small aperture through which readings could be taken.
With two T-slots, the heavy 15" x 57/8" table had 8 inches of longitudinal movement driven by a 3/4-inch diameter feedscrew with a 10-t.p.i 60-degree thread. The table, which ran on a base with ways machined as one inverted V and one flat, was designed to run with absolute smoothness and to achieve this was held in place by just the feedscrew and its own weight - there being no dovetail edges or adjustable gib strips. Of course, before boring began, the table had to be locked in place and a powerful clamp was provided for this purpose. If the readings from the dials were as accurate as claimed, the machine would have been very useful as a two-dimensional comparator, being able to check, for example, hole-centre distances, progressive and periodic errors of thread pitch and tapers by simply attaching suitable pointers and reading from the scales.
The vertical head, fitted with a lever-action quill to accept 8 mm watchmakers collets and with a supplementary coarse feed by a small, un-calibrated handwheel (connected in the manner of a microscope rack), was mounted on a wide, 6-inch travel ram running in "sunken" V- ways - a similar arrangement being found on the immediate forerunner of the jig borer, the SIP watchmaker's pointing machine of 1919. Like the table, the ram too was devoid of any retaining dovetails, or adjustable gib strips, and used a clamp to lock it down once the settings had been achieved. The head ran up and down two inverted V ways and could be adjusted to come within 2 3/4" of the table, or moved as far as 71/2" away; it accepted a number of interchangeable fittings that could be simply slid in and out: a centring microscope with cross hairs, a "sliding centre" (to enable the accurate positioning of pre-drilled work) and a quill able to accept 8-mm horological collets - the quill travel of only 1.5 inches being a reminder that this was machine designed for the production of jigs and fittings used in the watch and instrument industries. A quill depth-stop was supplied and this, running on a 1-mm pitch screw, carried a metric-graded graduated dial - one hopes the operator was mentally agile enough to accommodate the switch from inch units on the table.
Rather unusual and very delicate in operation, the mechanism used to operate the down feed was interesting: the spindle assembly, sliding in the head, weighed 3.3 lb and was normally supported in its uppermost position by a swing-away stop. The spindle was lowered towards the table by gently supporting the lever arm, one finger beneath it being sufficient to ensure a very light contact with the workpiece - an essential feature when using miniature drills.
Drive to the head was also of ingenious design and employed a variable-speed drive, vertically-mounted 3000 r.p.m 230-volt motor connected to a "tube" - and so almost certainly of DC configuration. In order to obtain a constant belt tension as the head moved up and down and in and out, a rather complex mechanism was employed with the motor connected to a vertical drive shaft the top section of which carried a long, spring-loaded arm and a round-belt pulley that took the drive out to a tall, vertical, flat-belt pulley that in turn passed the drive across to the spindle head. While the spring-loading of the arm held the flat belt tight, the final drive to the spindle passed first through a small aluminium-cased 3 : 2 reduction gearbox, so relieving the spindle and its super-accurate bearings of any sideways loading. As the pulley system geared up the drive to produce 4075 r.p.m at the input to the gearbox (and with the 3 : 2 reduction allowed for), the spindle speed range would have been from a few rpm above zero to 2700.
If you have a Sadamel machine tool, or any literature about them, the writer would be very interested to hear from you..
|
|


